Today's project is all about BD and AD!
that is...
BEFORE die cuts and AFTER die cuts!
It also features the Spotlight technique with dies -
using the same colors,
and
the same stamp image,
to see how differently the same spotlighted images can look
by simply changing the die cuts.

 |
| click below for: STORE PINTEREST BOARD CHALLENGE BLOG INSPIRATION BLOG |
My cards use the following DRU Products:
 |
each card has the following for the two "spotlight" elements.
Sue Wilson - Canadian Collection - Montreal (for dainty oval)
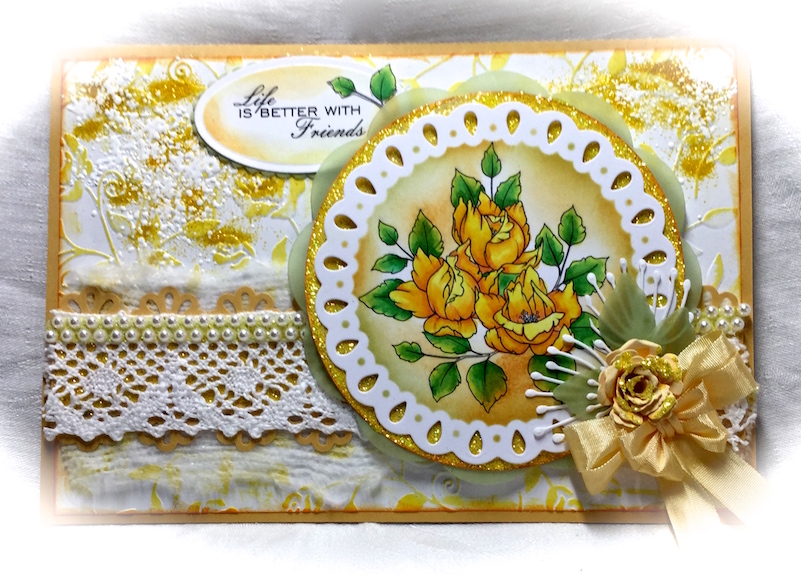
Card One (butterfly in corner):
Card Two (brown tones):
Spellbinders - Card Creator 5x7 Elegant Labels Four
Sue Wilson - Canadian Collection - Montreal (for dainty oval)
Spellbinders - Mega Nestabilities Curved Rectangles (to create smooth turq panel for stamp)
Card Four:
A2 Card is the BD (before dies):
none!
|
The Out-of-the-Box die cut technique was developed for images that might be larger than dies.
"Spotlighting" is an old, old stamping technique.
"Spotlighting" is an old, old stamping technique.
Here are links for the Out of the Box Video and a step-by-step pictorial tutorial.
For another of my unusual out of the box cards, please click here.
For some gorgeous Spotlighting ideas, please visit this Pinterest Board.
Psst! If you are new to Pinterest, please know you don't have to sign up or have a Pinterest account in order to enjoy all the lovely Pin-spiration you'll find there.
An "olden days" style Spotlight card without dies to fancy it up:

To accomplish the Spotlight technique using dies, it is easiest to deliberately choose crooked shapes, or shapes like circles that can be easily rotated on the image. Because the Out-of-the-Box technique on this card uses level dies (as opposed to round), I needed to be sure that the pop up portion would not be crooked when adhered. I'm not always good at "eye-balling", so this is how I solved that issue:

CARD ONE:

How to create the first card's shaped base and frame:


CARD TWO:

Putting the frame and card together:

Using the "negative left overs" on the interior:

CARD THREE:
Changing it up by using a dark background and white embossing powder, but all the same colors:

To create the frame:


Interior using the left over pieces:

Our BEFORE and AFTERS:

Other Products:
- Image: Joy! Crafts Clear Stamp "Floral Flourishes"
- SU White cardstock, Recollections glitter paper
- Tombow Markers
- StazOn Azure Blue, Mermaid Lagoon and Stormy Sky Distress dye inks
- Craft Essentials EFOB0010 Basket Weave embossing folder (Card 3)
- SNS - Detail White EP, Meadow Spark Ultrafine Glitter,
- Inks: Moonlight White Brilliance (distress 3rd card), VersaMark, Mermaid Lagoon, Old Paper, Tea Dye,
- Prima Flowers,
- Paper: SU, Recollections Glitter, Vellum
- Craft Your Passion #307 - Anything Goes 4/19
- Crafting from the Heart #107 - Anything Goes 4/19
- Crafty Gals Corner #67 Use Die Cuts or Punches 4/19
- Dream Valley #129 Anything Goes 4/25
- Inspiration Destination Challenges "#81 Anything Goes" 4/19
- Tuesday Throwdown #289 - Use Your Die Cuts 4/19