Hello, Friends!

Today's My Besties card is dedicated to Edith, and uses my newest Flower Tutorial.
(Who is Edith? Click here to discover how you can brighten someone's day).
Edith is recovering from recent brain surgery, undergoing physical therapy, and awaiting radiation and chemo treatments.
 Today is also my final "official" card as part of Sherri Baldy's Scrapbook Stamp Society's design team.
Today's card share uses Sherry Baldy's darling "Wendy Puppy Love" image, available here.

She is colored with Copic Markers, sitting in a garden of glitter and Prima Flowers (new Flower Tutorial). There is also lace attached all the way around the scalloped oval (smile).

inside:

This month, the theme at Path of Positivity Challenge is all about Dreams.
Lots of "things" flavor our dreams.
Certain life events, education, upbringing, health, positive (and/or unsavory) relationships, and DESIRE are some of the things which affect our dreams.
Having dreams can keep us motivated to constantly seek the Good in Life, even if our Dreams are not fully realized. It can be easy to blame others for our unfulfilled Dreams, or to blame certain life experiences.
But I have learned that Dreams are flexible. They are those creative moments in our lives that cause us to see possibilities. We can make goals to help us on our Journey in meeting our Dreams face-to-face. The important thing is to keep moving and to allow our Direction (and Dreams) to change as challenges and opportunities present themselves.
Instead of viewing stumbling blocks as obstacles, those "blocks" may actually be BUILDING blocks to bring us to a different place, fulfilling an "UNKNOWN DREAM" which has always resided in our hearts.
For me, I would not have discovered the wide world of Beauty found in our Internet Community, had I not become critically ill, and home-bound. I've altered my dreams, and pressed forward, knowing that GENUINE BEAUTY is always beckoning me forward, to the most Beautiful of Dreams. Thanks for being part of my Pursuit.
There is nothing so Dreamy as following the Path, and creatively embellishing it with what is in our hearts.
 |
Such sweetness! |
Thanks for stopping by today.
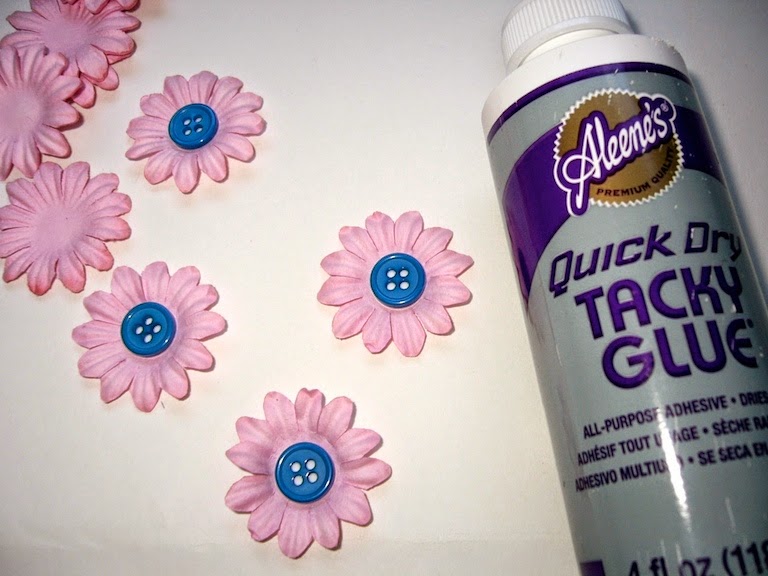
Don't forget to take a peek at my newest Flower Tutorial.
Products Used:
Sherry Baldy's Wendy Puppy Love digital Image
Sparkle N Sprinkle Glitters: Crystal Ice, Lator Gator Microfine, Mountain Mint Microfine, Chunky Diamond Dust.
Sparkle N Sprinkle Brushable Glue
Copic Markers
Lace, Buttons
Spellbinders: Detailed Scallops 5x7 S6-004, Grand Rectangles Nestabilities, Grand Scallop Ovals Nestabilities
Martha Stewart: Flourished Lace PAP, Butterfly punch
Cheery Lynn B147 Olive Branches
Papers: Neenah Solar White, Georgia Pacific White, Stampin Up Blue, SU Aqua, DPs from stash.
Old, Old Prima Flowers (from Terry)
Fun Challenges Submitted to:
- The Cutie Pie Challenge - #73 Use a Cute Digi (Darling little girl with puppy!) 7/19
- Path of Positivity - #16 Dreams - (please see my words toward the bottom of my post) 8/7
- My Besties Friendship - #3 Use a My Besties (freebie offered) 8/3
- My Besties German Challenges - #5 Anything Goes 8/15
stamping hugs,