My blog is called "Creative Smiles" because my designs are the result of incorporating mistakes. With fumble fingers that drop whatever they are holding - repeatedly, it takes a lot of giggles, smiles and creative patience during my crafting process. xx

Showing posts with label Linda Simpson Designs. Show all posts

Thursday, August 01, 2019

Moving Along With The Times Challenge - Anything With Bees

Greetings, friends!
Apologies that there are three posts this morning.


It's time to share a Project for the new Moving Along With The Times Challenge!

Challenge #103's theme is ANYTHING TO DO WITH BEES - for the next 2 weeks upload your creations featuring bees! 


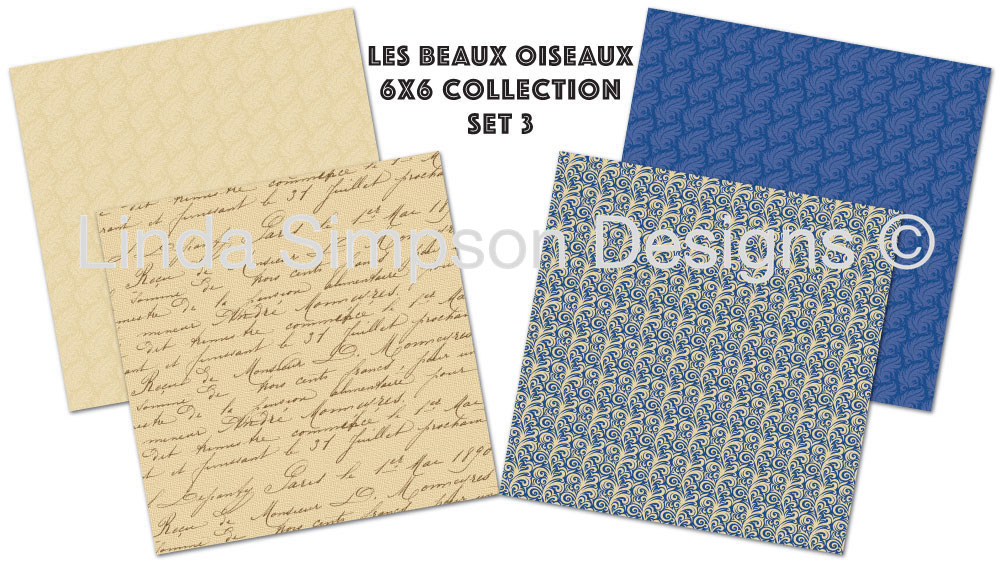
My project features a precolored freebie from The Graphics Fairy called Vintage Bees - Blossoms. The papers are from Linda Simpson Designs from two collections. One is blue-ivory colors and the other is green-tan-brown colors. The quality is beautiful.

Even though the papers and topper are digital, they have been used traditionally, with layers, ribbon (trim), inks, and punching.


Products Used:

Challenges I'd like to play in please:

  1. Crafty Gals Corner Challenges #197 3+Layers (5 layers, plus the punched layer and fabric trim) 8/13
  2. Crafting by Designs AG 9/1 


Hugs to my friends,


Thursday, September 06, 2018

Decoupage for the Birds! {Back to the Basics and Beyond}

Hello, Blogging Friends! Please join me today for the Back to Basics and Beyond Challenge. It's all about decoupage. This is my first ever decoupage card, and I hope it's done correctly!

For the next two weeks, join us by uploading an "Anything-Goes" challenge as long as decoupage is used. The team has all kinds of inspiration and a variety of styles to view, so take a look! Hope to see yours there.


It was pure joy working with Linda's quality products. My cards feature the "Les Beaux Oiseaux Designer Ephemera" - Beautiful Birds - I've done an Asian style card from the travel postcard.

Linda's products are available by leaving a comment on her blog or emailing her at lasimpson60@gmail.com


The designer paper is from one of Linda's digital paper packs containing green, tan and brown papers.

TIP:
I used a sepia setting on my computer and changed the green paper to become a bit more "olive" to match the bird, before printing it out.

I printed 4 copies of the bird topper, cutting out flowers, butterflies, and various parts of the bird, with the largest layers on the bottom, and the smallest on top. But first, each piece was inked around the edges for a crisper appearance.


Customizing the Martha Stewart punch set, I cut the white cardstock to 5.5" x 4". Notice the middle sides have been left "unpunched", and then were manually fussy cut with scissors. On the top and bottom, I punched 2 corners, and one border, then left the "odd" size "unpunched". This was also fussy cut. But this piece was flipped to the opposite sides on top and bottom to bring about a little symmetry. I hope this makes sense. (An easier thing to do would have been to size the digitals to fit the punches, rather than manipulate the punches after the fact - giggle). 


The white frame was smooshed with VersaMark ink, dredged with Opaline embossing powder and heat set:


The edges of the base topper were "distressed" with a Large Glue Pen, allowed to sit for about 15 minutes, and then Sunkissed Copper Gilding Flakes were applied to the edges:


After brushing away the excess gilding flakes, I added more texture by "distressing" with a VersaMarker, dredging with Copper EP and Glitter, and heat setting:


More of the embossing formula adorns the coordinating digital paper:


There were three textures of copper on the card:


Thanks for dropping by, and hope to see your decoupage project at
Back to Basics and Beyond Challenge


Products Used:
Challenges I am supporting with this card:

  1. Crafty Cardmakers #217 "All Creatures Great and Small" 9/17 sep post
  2. Get Creative Challenge #73 "Lots of Bling and Sparkle" 10/1 (I used lots of gilding flakes and the embossing powder contains sparkly glitter)
  3. We Love 2 Create #12 "Anything Goes Mixed Media" 2 kinds of embossing powders (one hand blended), gilding flakes, metal accessory distressed)


Stamping Hugs,

Sunday, April 01, 2018

Lovely Winged Collages by Linda Simpson Designs {2 Crafty Critter Crazies}

Thinking of you during the celebrations of Easter, Passover, and Spring!
To friends who have been enduring such horrific weather - my thoughts are with you, and praying you have not suffered loss as a result.

On to the fun stuff!


This month at 2 Crafty Critter Crazies we are sponsored by Linda Simpson Designs, where quality digital products are available in several styles and colors!

Until the 28th of April, you may share your critter creations with us, being sure that your animals are the featured element of the project! We have a product winner and design team picks, as well. 

It was pure joy working with Linda's quality products. My cards feature the "Les Beaux Oiseaux Designer Ephemera" - Beautiful Birds - a pair of birds on branch and postcard.


and beautiful digital papers from Les Beaux Oiseaux 6x6 Set 3.


I printed a small section of the pretty birds, die cut them, and mounted them on top of the "Tan Feathers on Light Tan" digital paper after distressing it with firebrick red and black soot inks. The butterflies are also fussy cut out, distressed with black soot ink, and layered atop. Also featured is my very VIRGINAL Spellbinders Imperial Square die set. It's lovely! This is a 6x6 card.

Question Time:

I heat set my sentiment on vellum using SNS Antiquities Detail Opaque Embossing Powder. While it looks great in person, all the little shadows show up in the photo. Is that because I did not heat it sufficiently from the underside of the vellum? Am I supposed to melt it from underneath and then a little bit on top?
(Embarrassed that I don't know the answer to this question, but would like to know your kind responses, please)

SNS Antiquities Detail Opaque Embossing Powder
Antiquities Detail Opaque Embossing Powder is a very fine, metallic powder, great for the smallest detail work. Depending how the light shines on it, it will appear slightly more silver, or titanium, with a splash of distressed copper or iron in it. It's a great universal color!

TIP:
To get the most economic use of my printed images, I try to save on ink and paper by "overlapping" the images in my word processor:


Next is this fun 5x7 card, using the script digital card stock in the background distressed with firebrick ink. The lace is from my Great Aunt Agnes in the 1940's.

Hello Die Cut by Tonic has been coated with Glue Pen (large) by Tonic and then dredged with SNS Galaxy Ultrafine Glitter (a mix of black and colors found in the galaxy).  Black Ash Mousse by Tonic distresses the taupe panel. Depending which one it is moved, it changes from a gunmetal gray to light ash.


Lastly, I have a super easy card to show. The birds are digitally layered to a red background, where I applied some digital lace. This was cut out, layered onto a coordinating pale tan/ivory panel, and finally placed onto coordinating red cardstock. Added a few fussy cut butterflies for some dimension. 


The sentiment is heat set with textured SNS Timber Embossing Powder. I love the elegant earthiness this EP brings to the card with the grainy, but shiny elements! Timber Embossing Powder contains a surprise ingredient that really brings out the burnished bronze richness in brown.

SNS Timber Embossing Powder
Check out this month's challenge at 2 Crafty Critter Crazies and be sure to visit Linda Simpson's fantastic, easy-to-use vintage images!

Products:
Challenges I'd like to Play in:


On a Personal Note to my close blogging buddies:
You likely have noticed a change in my on-line habits.
It's been a period of adjusting to a new "plateau" of abilities.
I AM enjoying your creations, just not able to leave as much feedback as I'd like to. Thanks for understanding.

hugs,