
Hello, everyone!


After flocking the beard, a heart of gold was glittered up, because after all, it is a person's heart that is so beautiful, not the pot of gold at the end of the rainbow.

Products: Stamps: Woodware Gnome Rainbow set, Dies: Tutti Stitched Rectangles, MS Traditional Scallop Edge, MS Daisy Edge, MS embossable Zig-Zag Edger,Other: White Flocking (beard), Glitter (clear mixed with green for the sky), Gold mixed with green for the rainbow and heart, Inks: DO mowed lawn, Copic Markers, Cardstock - 3 greens, 110lb Neenah Classic Crest CS white, My Favorite Things Cloud stencil.
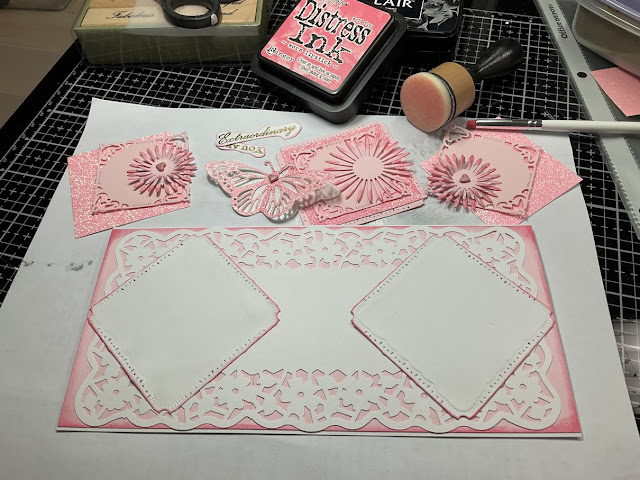
Next came two cards made with more scraps and Spellbinders Grand Labels Four. A stencil helped create a fun background. To sparkle the clouds up, I applied Art Institutes fine point glue and added clear glitter mixed with pale green. Even the horizontal pieces have been glittered:

(Honk! if you love glitter!) giggle

Products: Dies: SB Labels Four Grands, Tutti Stitched Rectangles, MS Lace Heart Edger, MS embossable Zig-Zag Edger, Other: White Flocking (beard), Glitter (clear mixed with green for the sky), Green, Gold mixed with green for the rainbow and heart, Inks: DO mowed lawn, DI rustic wilderness Copic Markers, Cardstock - Bazzill green, K&Company pattern, 110lb Neenah Classic Crest CS white, My Favorite Things Cloud stencil.
A couple more using the same techniques, but with different scraps, and SB Grand Scallop Ovals:


Products: Dies: Tutti Stitched Rectangles, SB Big Scallop Ovals Grands, Leafy Image Starving Artistamps (2004) stamped with Mowed Lawn DO, MS embossable Zig-Zag Edger, MS Lace Heart Edger, Darice 5x7 dot EF, Green Sequin cardstock, My Favorite Things Cloud stencil.
Thanks for enjoying my 5 cards that took 5 months to put together! LOL Slowly but surely, right? In the meantime, here is the interior sentiment if you would like a digital (click to make full size before saving):

Challenges I would like to play in please:
- Paper Funday Challenges #86 AG with die cuts and punches (I have used both on each card - the products are listed beneath the photos) 5/4 (sep post)
- All Sorts Challenge #847 AG in the Garden - the products used are listed under each card with Woodware Stamps being the main feature 4/24 (sep post)
- Heart's Quest Fantasy Challenge #4 AG Fantasy 5/2
- Crafty Catz #711 AG 4/23
- Craft Rocket Challenges #135 Layer it Up 4/28
- Shopping Our Stash Weekly #571 "I don't sweat, I SPARKLE 4/21 (the sky background is hand glittered, the rainbows are hand glittered, the hearts are hand glittered, some of the layers are glittered, some of the layers are sequin paper, very sparkly in person!) sep post.
- A Perfect Time To Craft April 1 #4 - 4/26
- Heart's Quest Challenge Blog #84 Anything with a heart - this rainbow protects a heart of gold rather than leading to a pot of gold! Thanks for the fun challenge. 4/27
- Inspiration Station Challenge #84 AG with inspiration photo below (green, "shoes/feet", flowers) 5/4

On the Homestead here in Florida:
Like the rest of you, we have been experiencing strange weather. Here in central Florida, an early winter blasted its way through last Autumn, bringing unusual freezing temps down in the low 20s. The farmers had a rough time of it. Then we had early hot weather this Spring, breaking records with the 90s in March!
Do you know what a staghorn fern looks like? Ours were a good 6-8 feet wide when the freezes hit. This is what happened after the awful blizzards made their way to Florida:


This is the east part of our front pasture, coated in ice. The grass matches the hues found in the hanging Spanish Moss and the gray dirt of the drive way coming up from the gate!

Normally, all that gray stuff is bright green (west front pasture)

I know these scenes are trivial compared to what most of you endured this past winter. Nevertheless, it severely impacts the wildlife (especially migrating species), the environment, and economic endeavors for the state.
Hoping you are doing well this spring. I am completely homebound except for doctor appointments. Wishing you Beauty, Love, and Patience always...


.png)


