My blog is called "Creative Smiles" because my designs are the result of incorporating mistakes. With fumble fingers that drop whatever they are holding - repeatedly, it takes a lot of giggles, smiles and creative patience during my crafting process. xx

Showing posts with label Donna Ellis. Show all posts

Wednesday, March 04, 2020

2 Crafty Critter Crazies - Amazing Owls!

Greetings, Wonderful Blogging Friends!
It's time for a brand new challenge 2 Crafty Critter Crazies!

and guess what?

I am the sponsor with my pretty Great Horned Owl Set! The set contains 17 JPG and PNG images in black and white, and also with sentiments.

I'll be giving this set to one three of my blogging friends as well, so if you are interested, just say so in comment and I'll randomly select a name on March 31.


For the month of March, join us at 2 Crafty Critter Crazies by uploading an "Anything-Goes" project as long as critter is the focal point of your project. The team has all kinds of inspiration and a variety of styles to view, so take a look!

My inky rendition depicts that period of time just after dusk. I can hear softly hooting owls in the trees talking to one another, the chirping of happy insects announcing the full moon, croaking toads and frogs in search of goodies, and perhaps even some "night owls" doing their crafting!


I printed out The Great Horned Owl digital set TWICE. 

One owl was fussy cut to make a mask. The other was colored with Copic Markers. This is one of the colored images included in the digital set.
After die cutting a circle and placing it on top of the owl mask, I used distress inks in Black Soot, Blueprint, and Stormy Sky to create a night sky.


The frame process:
(if you are reading this on my personal blog, click on the photos to enlarge)


  1. Applied a double sided Adhesive Sheet to black cardstock, leaving "rough" protective layer in place.
  2. After die cutting shape, I removed the protective layer and burnished in Black Microfine Glitter (if you prefer, use black glittery EP instead).
  3. I distressed with VersaMark Ink here and there and applied a gold-and-black Chunky Opaque embossing powder.  Then I added a bit of chunky Black embossing powder on top of the gold color, to tone down the gold. Glittery green embossing powder was also used in the distressing process. Heat a little at a time so it does not melt the double sided adhesive sheet.
  4. I die cut some white fun foam in the same shape, and edged it with a black Sharpie marker. The black frame was then adhered to the fun foam for dimension, using Double Sided Tape.


    I thoroughly enjoy "distressing" with glitters and embossing powders!
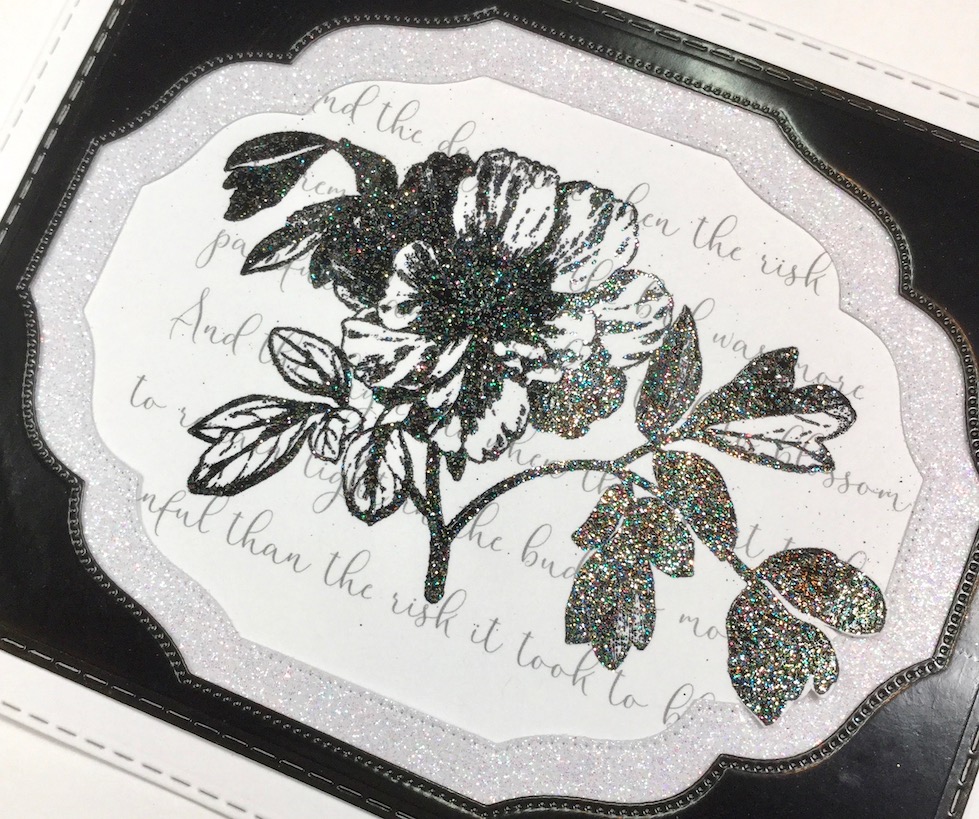
    frame close up:

    The set comes with a leafy twig - great for framing or using around the branch. Because this set was once available in rubber, I embossing the twig with more Green embossing powder to give the leaves a night time appearance. Any twig stamp will work.

    The sentiment was stamped with Nocturne VersaFine Clair and heat set with Black Detail embossing powder. It was distressed with the same colors as the sky background.


    The Handmade paper was dry embossed and distressed with 3 colors of mousse.


    Finished Card:


    Stamping Hugs,


    Thursday, May 09, 2019

    BLACK AND WHITE at Moving Along With The Times Challenge

    Wow! Two posts from me in the same week!
    I'm using one of my "own" newest stamp sets - partly from the digital set, and partly from the rubber set. These cards are inspired by my friend Paula D and by my MAWTT Teamie Debbie who chose BLACK AND WHITE ONLY theme.


    It's time to share a Project for the new Moving Along With The Times Challenge!


    Challenge #97's theme is BLACK AND WHITE ONLY - for the next 2 weeks upload your creations that feature your BW creations!


    The digital set of my new VINTAGE PEONY stamp set has 17 colored and black and white items in it. My cards were printed with the background stamp in 3 sizes, and then stamped in rubber with Noctourne VersaFine Clair ink. The digital set comes with colored and BW versions independently, and also already masked for you so that the words cannot be seen in the flower petals and leaves.

    To receive an additional 10% off, please use the code DonnaDT10 when checking out.


    Each of my images has a printed background from the above digital set.

    Each was stamped with VersaFine Clair Nocturne on top of the digital background. However, the digital set does offer flowers with the background already done, so that the letters don't show through the petals. I wanted the letters to show through.

    First is this card with the clear glitter mat, glossy black frame, and simple image:
     
    Second: Stamped with VF Clair Nocturne, and heat set with a black glittered EP. It has a white background, black glossy mat, and glittered interior mat:


    Lastly, I stamped the flower three times, cutting petals out and popping them up. The edges are also stamped with more leaves. All the leaves have been coated with a Zig 2 Way glue pen, and clear white glitter (sorry, it photographed rather blue):


    The mat is a black glitter cardstock (I cheated!):


    The sentiment comes with the set, was stamped in VF Clair Nocturne and heat set with clear EP:


    For me, the black-and-white ONLY challenge was difficult, not being able to shade with gray to provide depth. But it was fun! Hope to see your card uploaded to the challenge!

    Challenges I'd like to play in please:
    1. Shopping Our Stash #395 "May Flowers" 5/13
    2. World Wide Open DT Challenge #4 AG DT 5/15 
    3. Corrosive Challenges #5 Anything Goes 6/3
    4. Dare2BArtzy (May 5) "May Flowers" 5/29
    5. Crafty Gals Corner #191 May Flowers 5/22
    6. Creative Moments #168 Anything Goes 5/22

    Stamping Hugs,
    de

    Wednesday, August 08, 2018

    Using Digitals - Back to Basics and Beyond

    It's another blog post from me!
    Thanks for stopping by.
    Hope all is going well for you.


    It's time for another
    Back to Basics and Beyond Challenge!


    For the next two weeks, join us by uploading an "Anything-Goes" challenge as long as a digital image is used.

    In this case, I colored this Vintage Country Home Digital Set with Copic Markers - however - as a digital set, it is available done in these colors and in a more vintage color theme as well, so you have 3 options. There are also three sentiments, one is shown here.


    The green sparkly frame is actually an embossing powder called Tuscany Pear Star. Love the rich color and sparkle! The leaves under the bow are glittered with Ocean Breeze Microfine Glitter.


    Here it is in CAS styles:


    Products Used:

    Challenges I'd like to play in please:
    1. Paru's Card Making Challenge (Aug) Family 9/1
    2. Try It On Tuesday (Aug 7) "Inspired By A Song" - Country Road-Take Me Home by John Denver - (only combine with 5 challenges) 8/21 sep post
    3. Craftaholics R Us #32 Use Something Yellow (colored my image with 2 yellow Copic Markers) 8/17
    4. Sum More Fun #34 mood board - yellow green, white, black - 8/18


    thanks for visiting today!