In my stash, I discovered 3 containers of "clear micro beads". One from our LSS, one from Michaels, and one from Wal-Mart. The Wal-Mart "beadies" were actually tinier and clearer than the others.
If you've never used micro beads, they are fun. In Real Life, clear micro beads provide a stained glass look. Because of that, they are forgiving, if you accidentally color outside the lines. Bolder colors work a little better than pastels. When coloring, let your imagination guide the color choices. Paints, markers, and colored pencils can all be used with this super easy technique.
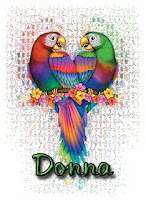
To use micro beads, find any stamp image which allows for coloring. These parrot cards were made with the Sparkle N Sprinkle Stained Glass Parrot. It's on sale this month. The birthday sentiment is also from SNS. I cut it apart to accommodate Nesties Labels 10 on my Grand Calibur.
The EASY part came after the coloring. Cut the image to size. Trim SNS Super Adhesive Sheet slightly larger than the image - about 1/4". Apply the SAS. Cut little slits in the excess SAS around the image of the image, then gently fold it over to cover the back of the parrot image. Place the image onto the layer for the card, pull off the protective sheet, and drizzle on the micro beads. The SAS is super adhesive. It holds the image to the under layer AND holds all those beads right through the US mail.
A hint about the photography - any photos which actually show the beads themselves, dulls the image and card. But only in the photos. I hope you can get an idea of what playing with micro beads can do in the way of presenting an interesting and different card any recipient would welcome.
 Thanks for visiting! Your comments are always read with appreciation.


