Hello, my friends! Hoping you are not uncomfortably dripping wet from the sweltering heat (here in the northern hemisphere) - I also hope that our friends Down Under are escaping the wrath of the current explosion of influenza cases. May you be well soon if the flu has come to your home.
Do you know what "inchies" are?
Before I became "house-bound", 20+ years ago, I had the pleasure of working in a brick and mortar store called THE PAPER PLAYHOUSE. There I taught classes and designed the free, weekly Make N Take, instructing about new products and how to use them. It was a great opportunity to meet people and enjoy our hobby!
Do you remember when...
In those days, designer paper was scarcely a "thing". So we stamped our own background papers, embellishing them with inks, glitters, embossing powders, etc. It was great fun cutting them for One Sheet Wonders or Inchies-Twinchies creations.
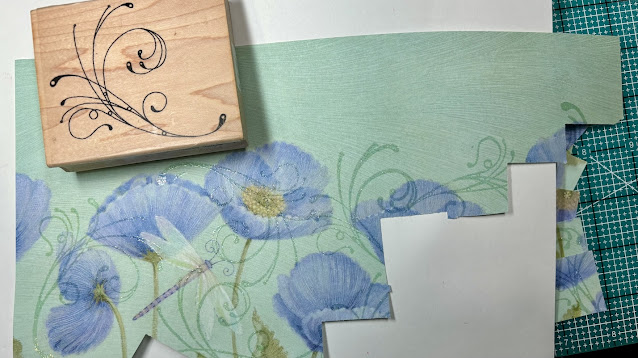
My card shares today involve some of the oldest designer papers of day - lovely K&Company designer paper, which was also VersaMark stamped with an Impression Obsession image and heat embossed with clear EP containing glitter, to give the paper some extra pizzazz.
First up are some "Just A Note" cards - with die from Sue Wilson Script collection. Cut once on white cardstock, a lavender glitter layer was attached - it has been adhered to vellum for a bit of texture and mystique.

I was inspired by a friend recently who took an "Inchies Class" involving 3-D appearing shadows without actual dimensional adhesives:
The ribbon, also 25 years old, was fed through a slit in the vellum:
Has this ever happened to you?
The "colored powder" of a die flaked off, onto the paper. It is deeply embedded in the white and is quite noticeable. It worsened with each pass through my Gemini Junior machine. If it happened to you, how did you remedy it? The folks at Creative Expressions told me to use wax paper, which Spellbinders always said not to do (at least when they were a new company) (you may have to click on the photo to enlarge it).
Two very special birthdays in blog land are soon coming!
I'm all set for them:
flat for mailing:
Also a little sentiment on the card backs, which I've included as a gift to you below:
This project, while challenging for not-so-nimble fingers, was SO FUN, and brought back happy memories of laughter, fun and dear people in the classes!
Products: Die Sets: Sue Wilson Scripted Just a Note, Double Pierced Circles and Scripted Happy Birthday, Spellbinders Grand Nestabilities Scalloped Squares, SB Classic large scallop rectangles, Sizzis TH Garden Greens, Cottage Cutz Greenery 4x4, Papers: Lavender, Pacific Blue, White, Black, Purple, Green Glitter, Vellum, Lavender Glitter, K&C patterned papers, Inks: Pumice Stone DI, Fantasia VersaFine Clair, Versamark, Misc: EK Success 1-1/4" punch, Clear EP containing glitter, stamps: SU Elegant Greetings stamps, IO Alesa Baker Large Flourish Three E2036, my digital sentiment stamps
I'd like to play in the following challenges, please!
(many thanks to challenge owners and design team members who create fun for us!)
- The fabulous DOUBLE D CHALLENGES (Aug 21) Use Shapes (I used multiple 1.25" squares from an EK Success Punch, 1/2 circle scallop layers, circle sentiments on the back, and shaped rectangular layers) 9/1
- Darling "I Spy With My Little Eye" challenge #18 Something from the garden (flowers, leaves, dragonfly) 9/17
- Lovely Creative Inspirations Challenges #17 - Anything Goes 9/1
- Love Those Pretty Papers 8/3 Used the option anything goes 9/1
- Word Power #8 7-31 Sentiment is Focus of Card (words on front, sentiments on bottoms and backs) 9/1
- Paper Minutes #860 Birthday 8/27
- Creative Moments #261 Patterned Paper - inchies are punched from patterned paper. 9/5
- Creative Creases #89 Anything Goes with a Fun Fold Card 9/1
My gift to you -
Arrangements of the same sentiment for use on the inside or outside of your projects. Please do not sell these Sentiments. Use on any of your projects, including projects involving any design teams you might be on.
Click on the image to bring it to full size. Because of the changes Google Made with Blogger (June 2020), your image will appear to be solid black. Don’t panic. Right click and do a SAVE AS PNG. Once it is saved on your hard drive, you can open it and it will have a transparent background. I create PNGs instead of JPGs so they can be placed anywhere on a scene or project, and so backgrounds can be made using them. Please let me know if you have any problems. I hope they serve you well!
Enjoy!
Sending you Joy,